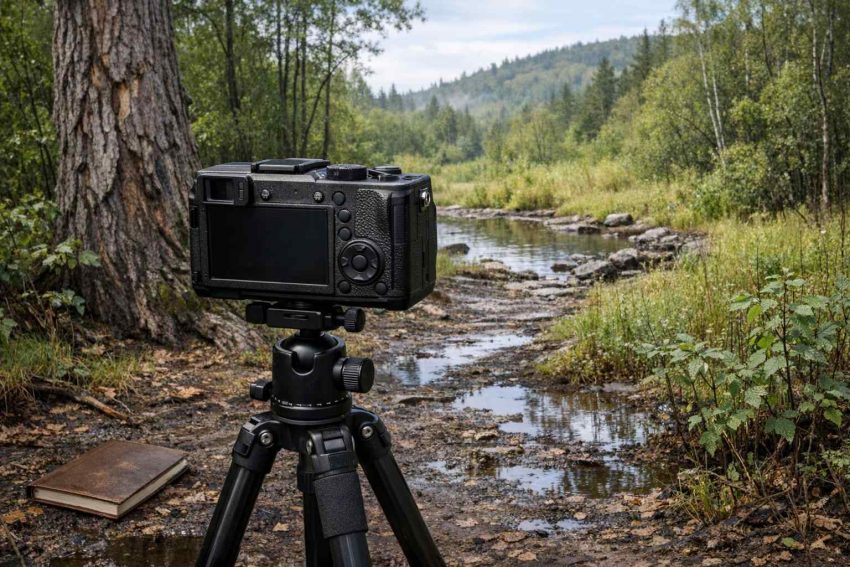
Do you notice gradual change in your favorite habitat? Do you notice how a trail develops with more brush, a wet spot dries up, young trees fill in to block view, and repeated use creates a path through the understory? Repeat photography, even with a simple point and shoot camera, can provide visual documentation of change that has occurred over time. What to document, how often to go back, and how to avoid disturbing wildlife while taking photographs are key considerations.
Pick a View That Can Answer a Question
First, begin with a question or problem that needs to be managed. For example, is a particular opening or area of habitat filling with woody growth? Is a stream edge, animal travel route, food plot, or area of invasive plants being viewed? The best repeat photos are of obvious features that will change in a notable way over time.
Select a reference point (or points) that will remain relatively constant throughout the time of the project. This can be a large tree, fence post, rock outcropping, or a distant ridge line. Try to avoid a scene with too many temporary objects such as parked cars, cut branches, or a single patch of seasonal color that will only appear for a short time.
The views taken for repeat photography need to be simple and ordinary and to record changes to the habitat which are of interest to the observer. Such views are usually much less impressive than those used for taking scenic views. They can be taken from the same spot on different occasions and viewed later to note any change.
Consistency Matters More Than Camera Cost
Basic cameras for repeat photography are often better than high-end models which cannot be set up in exactly the same way for subsequent photographs. A stable mount, fixed field of view and notes recording the circumstances of the photo(s) are more important than the camera itself.
Try to keep the same camera height, lens or zoom setting, direction of view and general shooting location for repeat photographs. Note variations in light such as extreme overcast, clear days, and recognize that different times of year with changing leaf cover, snow cover or other natural phenomena will cause photographed views to change as well.
A smartphone may be the simplest and best solution for occasional documentation of wildlife habitats. More involved habitat monitoring however typically warrants the use of more involved camera units – sometimes at locations that are difficult to reach – which can be left for extended periods of time in order to automatically record habitat change. These units require however care and attention in relation to battery recharging, protection against animal and human destruction, and to the management of images thus recorded.
Decide Between Scheduled Photos and Motion Triggers
A scheduled camera can be useful for documenting changes in broad habitat features over time, such as the height of vegetation, water conditions, ground cover, and even damage from storms and other natural events. Photos can be taken automatically on specific dates at set times of day. This type of equipment is not dependent on wildlife activity.
Motion-activated cameras are best for observing the use of a particular location or feature. For example, a photographer may set up cameras to monitor species using a crossing, whether animals are using a newly opened passage, or how activity changes following a habitat manipulation. However, the camera will take numerous photos of irrelevant wildlife activity in the surrounding area.
There is no value in taking photos of seasons change of vegetation if you only need that one photo. If you are going to take pictures of wildlife then you will need to set up your camera to take photos of wildlife. Those types of photos will generate a lot of useless photos of wildlife. Scenic views or broad openings are best suited to scheduled photos. What you are trying to monitor will dictate whether or not you use a scheduled or motion triggered unit.
Build Notes Into Every Observation
Much can be noted and recorded while you are at a location. The log will likely contain location descriptions, direction of view, camera height, date, weather, the condition of the vegetation and any other relevant disturbance. It is useful to include a small sketch or reference to a map to aid identification of subsequent photographs of the same location, especially if the observer is monitoring several locations.
It may take time to notice change but look for repeatable signs, such as the position of a boundary, amount of exposed soil, the spread of shrub or trees, the width of muddy tracks or the visibility of landmarks. One picture does not make a trend, so look for more than just the presence of animals. A single fallen tree branch, a temporary flood, grazing, mowing etc can drastically change a single image and give a false impression of long-term change to a habitat.
Keep original images where possible. It is best to make a note of how an image has been edited in terms of size or lightness etc. Note also if an image has been cropped. The important point here is that there is a difference between editing an image to make it more visible and editing an image to remove evidence.
Treat Wildlife Cameras as Observation Tools, Not Guarantees
When putting up wildlife cameras for trail photography to be used to monitor wildlife or habitats, remember to use these responsibly, for the intended purpose. Trail cameras hidden away from view can cause animals to act differently in the area and can also reveal private areas of land or human activity.
This means keeping cameras away from animal's nests, dens, bedding sites, feeding sites etc. and avoiding locations where the presence of a camera could interfere with the animal's normal behavior. This also includes locations where the presence of a camera could cause disturbance to people using the property. The location must also comply with local property rules and with relevant access and wildlife legislation – and this legislation can change so must influence your decisions on using wildlife cameras.
The use of security for wildlife cameras does not have to damage trees or habitat. Protecting the lens from low branches and direct glare is essential but does not need clearing of a large area to frame the shot. Regular checks at intervals that are suitable for the project are far better than constant checking for no reason. That a project is for monitoring of habitats is in itself good enough reason for taking fewer but better quality observations of animals than are taken for other purposes.
Turn Images Into Better Stewardship Decisions
It matters how you use visual records of your monitored habitat. For the first while you'll likely show off the great photos of the animals visiting your monitoring sites but later on it's very useful if the images show changes in the proposed opening, such as it getting too closed in, the wet area returning to vegetation, or the access route causing too much disturbance.
Change your perspective by viewing images in sequences as opposed to individually. Naturally there will be dramatic changes from season to season but within comparable conditions the same habitat will appear to change little over time. Consider sharing the task of viewing the same images with someone else. Be sure to blind them as to what results you were seeking. They may well find evidence you had missed in your blind quest for confirmation!
More common mistakes: vary the frame between photos, fail to take note of the weather, mistake animals for habitat, check the camera too frequently, and buy lots of new camera technology before you have clearly defined what question you are trying to answer with all of these images.